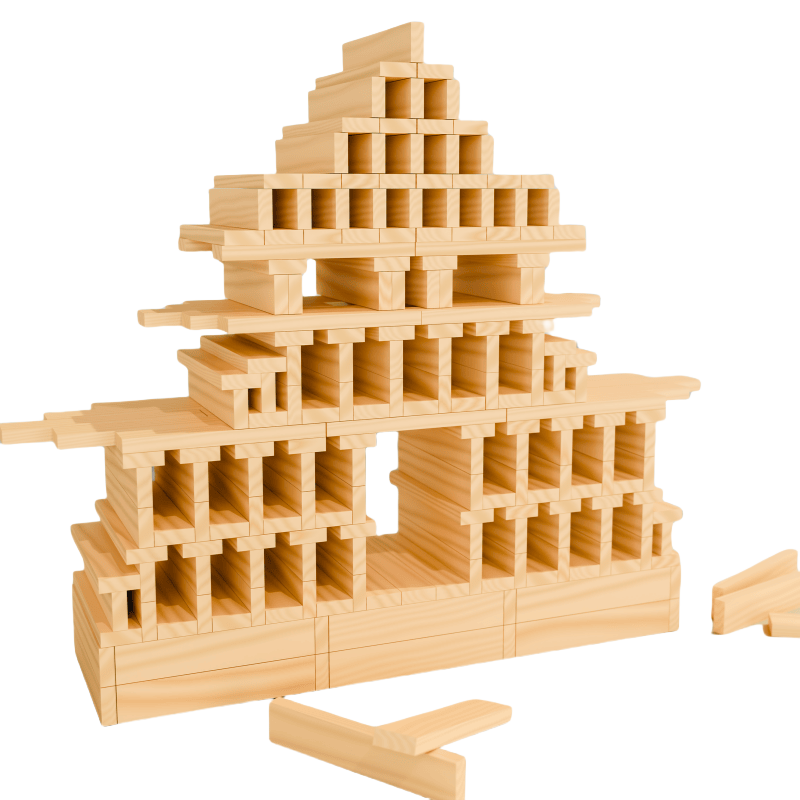
A Step-by-Step Visual Guide to Your First Build
Why a photo sequence beats a finished-model photo
A picture of a completed tower tells a child what to make. A sequence of layers tells them how. Most instruction cards show only the result, which is why children copy once and then stop. The guide below is written as a layer sequence you can follow without any diagram, using the same order of decisions an experienced builder makes.
Step 1: choose the footprint before anything else
Decide the height you want, then set the base to at least a third of it. If the finished tower should be 30 planks tall, the base needs to be about 10 planks across. Build the base as a solid square three layers deep, alternating the plank direction each layer.
This is the step almost everyone skips, and it is the reason most first towers lean at around 20 cm.
Step 2: build up, not out
Once the base is solid, reduce the footprint slightly every five layers. A stepped profile keeps the centre of gravity inside the base and still looks like a deliberate design rather than a mistake.
Step 3: stagger every seam
Before you place a plank, glance at the layer below. If the plank's end would sit directly above the end of a plank below it, move it half a length. This single habit prevents most collapses and takes no extra time once you are used to it.
Step 4: leave small gaps between planks
Tight planks transmit vibration straight through the structure. A 10–20 mm gap means a table bump is absorbed rather than amplified. It also makes the build easier to dismantle afterwards.
Step 5: test at half height
Press two fingers gently against the side at the top and release. A healthy build returns to vertical. One that stays slightly displaced is already failing, and the remaining layers will finish it off. Stop and widen the base.
Step 6: cap it
A single plank laid flat on top, rotated 45 degrees from the layer below, closes the structure and gives the eye a finish line. It also adds a little weight exactly where it does the least harm.
Turning the sequence into a set of photo cards
If you are making your own instruction cards for a classroom or a product, shoot four frames per build:
- The base, seen from above, so the footprint ratio is readable.
- Half height, side on, showing the staggered seams.
- The final layer before the cap, so the structure is clear.
- The finished build from the same angle as frame two, so the child can compare.
Four frames is enough. Longer sequences get skipped; shorter ones do not explain the method.
Builds that work well as photo tutorials
- The pillar tower — five pillars, three bridging layers. The structure is legible in a photo.
- The flat arch — the curve is obvious and the abutments show why it holds.
- The cantilever — the counterweight is visible, which is the whole lesson.
- The staircase — each step is a repeated module, easy to photograph and to copy.
Step-by-step written instructions for all five are in your first five builds; the structural rules behind them are in why plank structures collapse.
Sourcing wooden building blocks for retail or your own brand?
MOQ, lead times, EN71 / ASTM documentation — quoted within one business day.
Start here
Step-by-step tutorials · Building tips · Buying guide · FAQ · Wholesale & OEM