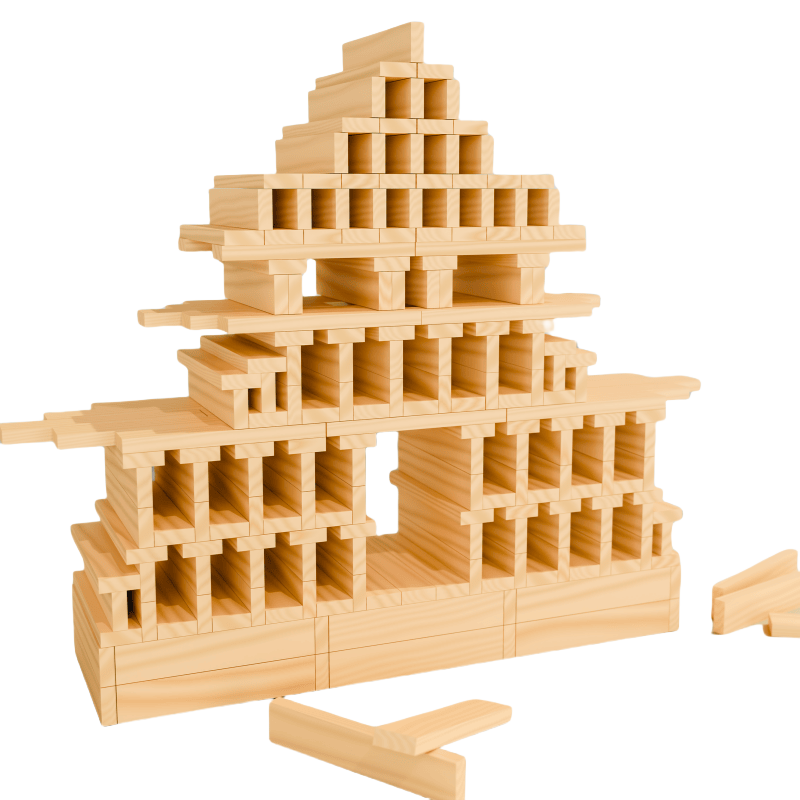
Building Bridges With Wooden Planks: Three Designs That Hold Weight
What makes a plank bridge work
A bridge is a plank structure asked to do something a tower never does: carry load across a gap. Two things make that possible. The first is a supported end at each side — an abutment. The second is depth in the span. A single layer of planks laid flat across a gap will sag immediately, no matter how carefully it is placed. Two layers bonded by friction, or a shallow arch, will carry a surprising amount.
Start with a gap of 25 cm. It is wide enough to be interesting and narrow enough that a first attempt succeeds.
The three bridge types to teach, in order
1. The layered beam
Build two abutments ten layers high, 25 cm apart. Bridge them with a single layer of planks running the length of the span, then add a second layer running at 90 degrees across the first, then a third running lengthwise again.
The alternating direction is what gives the span its stiffness. Planks are rigid along their length and flexible across it, so three alternating layers behave like a much thicker single beam. This is the same reason plywood is stronger than a stack of veneer.
Test: place a small toy car in the middle. If the bridge sags more than one plank thickness, add a fourth layer.
2. The arch
The strongest bridge per plank used, and the one children find most surprising. Set the abutments 30 cm apart. Begin the arch at both ends at the same time, laying each plank so it rests partly on the abutment and partly on the previous plank. Work inward and meet at the top.
Keep the curve shallow. A steep arch collapses inward while you are still building it because each new plank is pushing against an unfinished curve; a shallow arch becomes self-supporting after four or five planks on each side.
Test: rest a book on the crown. An arch that holds a book is doing real structural work.
3. The cantilever bridge
Two towers, each with a long overhang toward the other, joined by a short beam that only spans the gap between the overhangs.
The point is that each half is balanced: the overhang is counterweighted by planks stacked on the far side of the tower. This is the build that teaches the concept of a counterweight, and it is the one children return to when they want to build something that looks impossible.
Dimension rules that save time
- Abutment width should be at least as wide as the span is long, divided by three. A 30 cm span wants abutments 10 cm wide.
- Span depth for a layered beam should be about 1/10 of the span. A 30 cm span wants roughly 3 cm of stacked depth, which is three layers of typical planks.
- Overlap at the abutment should be at least two plank lengths. A beam that rests on an abutment by only one plank will tip when loaded.
Why bridges fall while you build them
Three patterns, all easy to spot:
- The ends lift. The abutments are too light for the span. Add mass at the ends, not in the middle.
- The middle sags progressively as you add layers. The span is too long for the depth you have. Shorten the gap or add layers.
- One abutment leans outward. The load is pushing the supports apart. Widen the base of each abutment, or switch to an arch, which pushes the abutments outward but downward as well.
A five-minute classroom version
Two stacks of books 30 cm apart, twenty minutes, a toy car that must cross. Groups almost always start with a flat beam and watch it sag, then either add layers or discover the arch. Both routes work, and the moment of discovering that the arch holds is the whole lesson.
For the underlying rules of stability that apply to all of these builds, see why plank structures collapse. For a set of five progressive builds to start with, see your first five builds. If you are choosing a set, the buying guide covers how many planks a bridge needs.
Sourcing wooden building blocks for retail or your own brand?
MOQ, lead times, EN71 / ASTM documentation — quoted within one business day.
Start here
Step-by-step tutorials · Building tips · Buying guide · FAQ · Wholesale & OEM