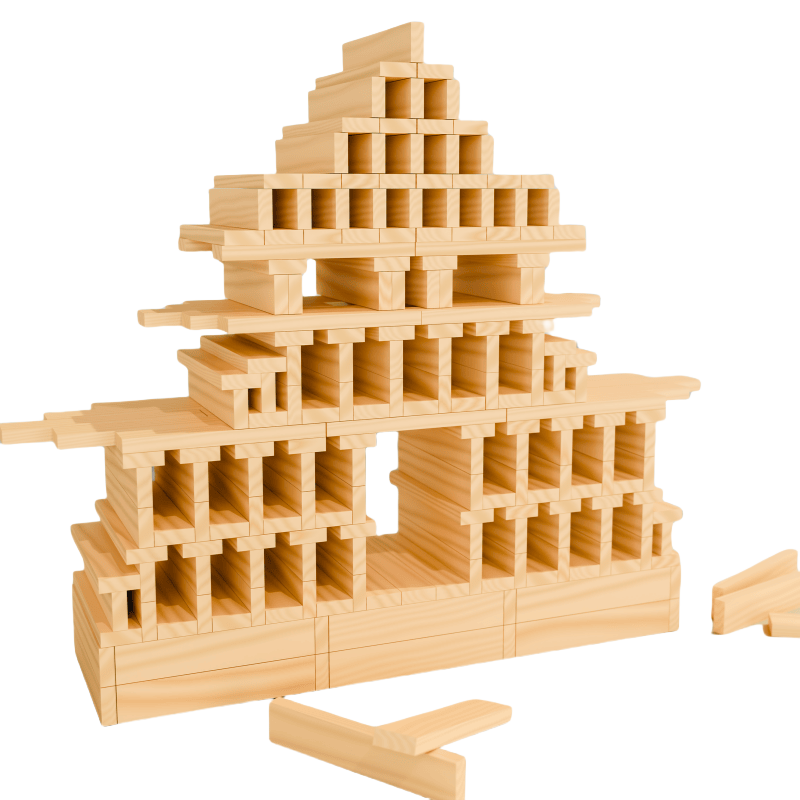
Build a Castle: A Weekend Project With 200 Planks
A castle is the first build that cannot be improvised. It needs a plan because it is bigger than the pieces you can comfortably see at once, and because the walls have to stay standing while you add the next part. This is a two-day plan for about 200 planks.
The piece budget
| Part | Planks | Notes |
|---|---|---|
| Base platform | 60 | Four layers, alternating direction |
| Four corner towers | 60 | 15 each, hollow, three planks wide |
| Curtain walls | 50 | Between the towers, two planks thick |
| Gatehouse | 20 | Taller than the walls, with a gap for the gate |
| Detail and roof | 10 | Stepped battlements |
That is 200 exactly, with nothing spare. If you have 250, spend the extra on the walls: they are the part that always runs short.
Day one: platform and towers
Stage 1 — the platform. Build a solid base 12 by 12 planks, four layers high, alternating direction each layer. Everything above depends on this being flat and square.
Stage 2 — the towers. Put one tower on each corner. Build them hollow: an outer ring of planks, three sides of two planks, with the corners overlapping. Hollow towers use a third of the material and are more stable than solid ones, because the load path runs down the corners.
Build all four towers at the same time, layer by layer. Building one to full height and then the next makes the platform unevenly loaded for hours.
Stop here. Day one ends with the platform and four towers. Do not start walls when you are tired; they are the fiddly part.
Day two: walls, gate and detail
Stage 3 — the curtain walls. Span between each pair of towers with two layers of planks running the length of the wall, offset so the seams do not line up. Leave a gap in one wall for the gatehouse.
This is where a castle usually fails: the wall is a long unsupported span, and it sags into the courtyard while you are still adding layers. Two fixes:
- Add a buttress — a short column of planks against the outside of the wall at its midpoint.
- Build the wall in two halves and join them at the buttress rather than spanning the whole distance.
Stage 4 — the gatehouse. Two narrow towers flanking a gap, joined by a lintel two planks above the opening. The lintel needs support from both sides; do not cantilever it.
Stage 5 — battlements. Step single planks along the top of each wall, alternating up and down. This uses few planks and does more for the look than anything else you can add.
The second collapse point
Towers fall at the top, not the bottom. When a tower reaches about fifteen planks, the top three layers have little weight above them to hold them together and are easy to knock while reaching past. Build one side of the castle fully, then work around, rather than reaching across finished towers.
What it teaches
Planning, sequencing and working around a structure instead of through it. A castle also forces the child to keep the whole shape in mind while working on a small part of it — the same skill as a large drawing or a long piece of writing.
For the structural rules behind walls and buttresses, see why plank structures collapse. For bridges and arches, see building bridges with wooden planks.
Sourcing wooden building blocks for retail or your own brand?
MOQ, lead times, EN71 / ASTM documentation — quoted within one business day.
Start here
Step-by-step tutorials · Building tips · Buying guide · FAQ · Wholesale & OEM